Introduction
The use of rust language in major companies is increasing and with it also the game dev community is growing.
New libraries are published almost weekly and, with enough patieance, it’s already possible to build a high-quality game. The open-world RPG Veloren is a notable example.
Pushed by some recently published, impressive games such as TLOU2 and Cyberpunk 2077 I decided to invest again part of my free time in gamedev experiments and to try out the new Bevy game engine.
Bevy is an ECS-based, 2D and 3D game engine currently under development, but it provides already many features for a simple game.
In this post, we will build a simple terrain visualization, while also exploring some of Bevy’s capabilities
Generating a mesh from a heightmap
Usually, terrain is described by a heightmap, usually a squared, grayscale image where each pixel encodes the height of the terrain at (x, z) coordinates
(note: we will work in a Y-up world).

Example Heightmap from Wikipedia
Our application will load the image and turn the heightmap into a mesh.
The simplest approach for doing this would be to partition a plane with a simple pattern of triangles, where the y component of each vector is sampled from the heightmap:
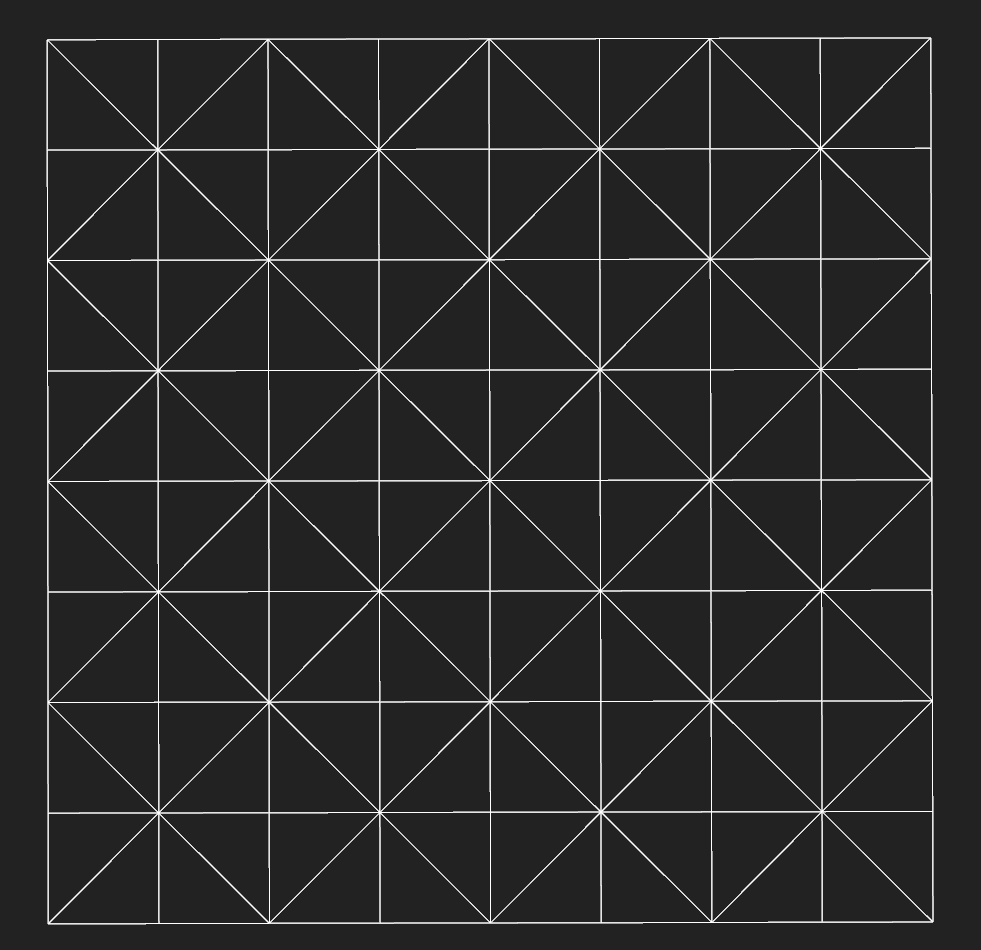
Simple triangle partition
For instance, by applying this approach on the simple heightmap on the left, we obtain the mesh on the right:

Input Heightmap
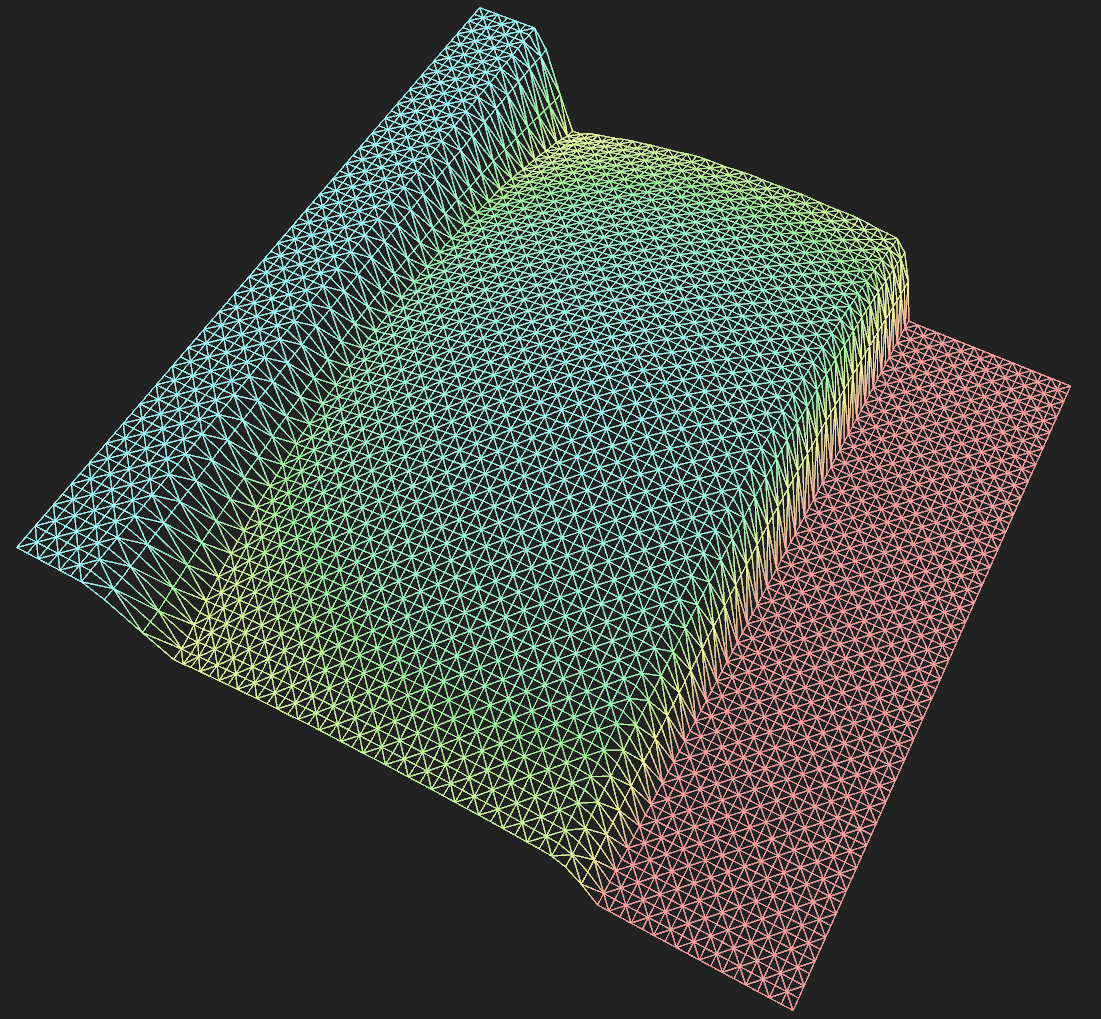
Output Mesh
The above method is perfectly fine in most cases, but if we are going to generate and show multiple meshes (e.g. in an open-world game) the count of triangles is going to increase soon.
Reducing the number of triangles - RTIN
One simple option for reducing the number of triangles consists in approximating parts of the heightmap where the slope is low. This way, planar parts in our mesh will be composed by a minor number of triangles:

An approximated version of the previous mesh
RTIN (Right-Triangulated Irregular Networks) is one possible algorithm for achieving this. It was nicely described in this Observable article by Vladimir Agafonkin from Mapbox. I have ported his javascript code into rust.
In a nutshell, the algorithm divides the space into two right-triangles recursively (like in a BSP). The obtained hierarchy allows choosing which triangle should be used for the mesh and which triangle should be ignored. I advise reading the article if you want to know how it works.
The function
1 2 | |
accepts the heightmap image data and the maximum allowed error as input. It follows the same process described in the article:
- computes the approximation error for each triangle
- traverses the triangle hierarchy, collecting all the triangles that satisfy the error_threshold
- computes and returns the vertices and indices of each selected triangle:
1 2 3 4 | |
Given an image of side N (where N is a power of 2) the terrain will extend from (0, 0) to (N, N) with a height ranging from 0.0 to 1.0
Build the Bevy mesh
Let’s go back to Bevy now. How can we visualize the triangles that we obtained?
It is very easy to create a new mesh: we choose the primitive topology (i.e. do you want to draw points, triangles, or lines?):
1 2 3 4 5 | |
We then create the vectors that will contain the mesh vertex attributes and indices:
1 2 3 | |
and we fill them starting from the TerrainMeshData obtained above.
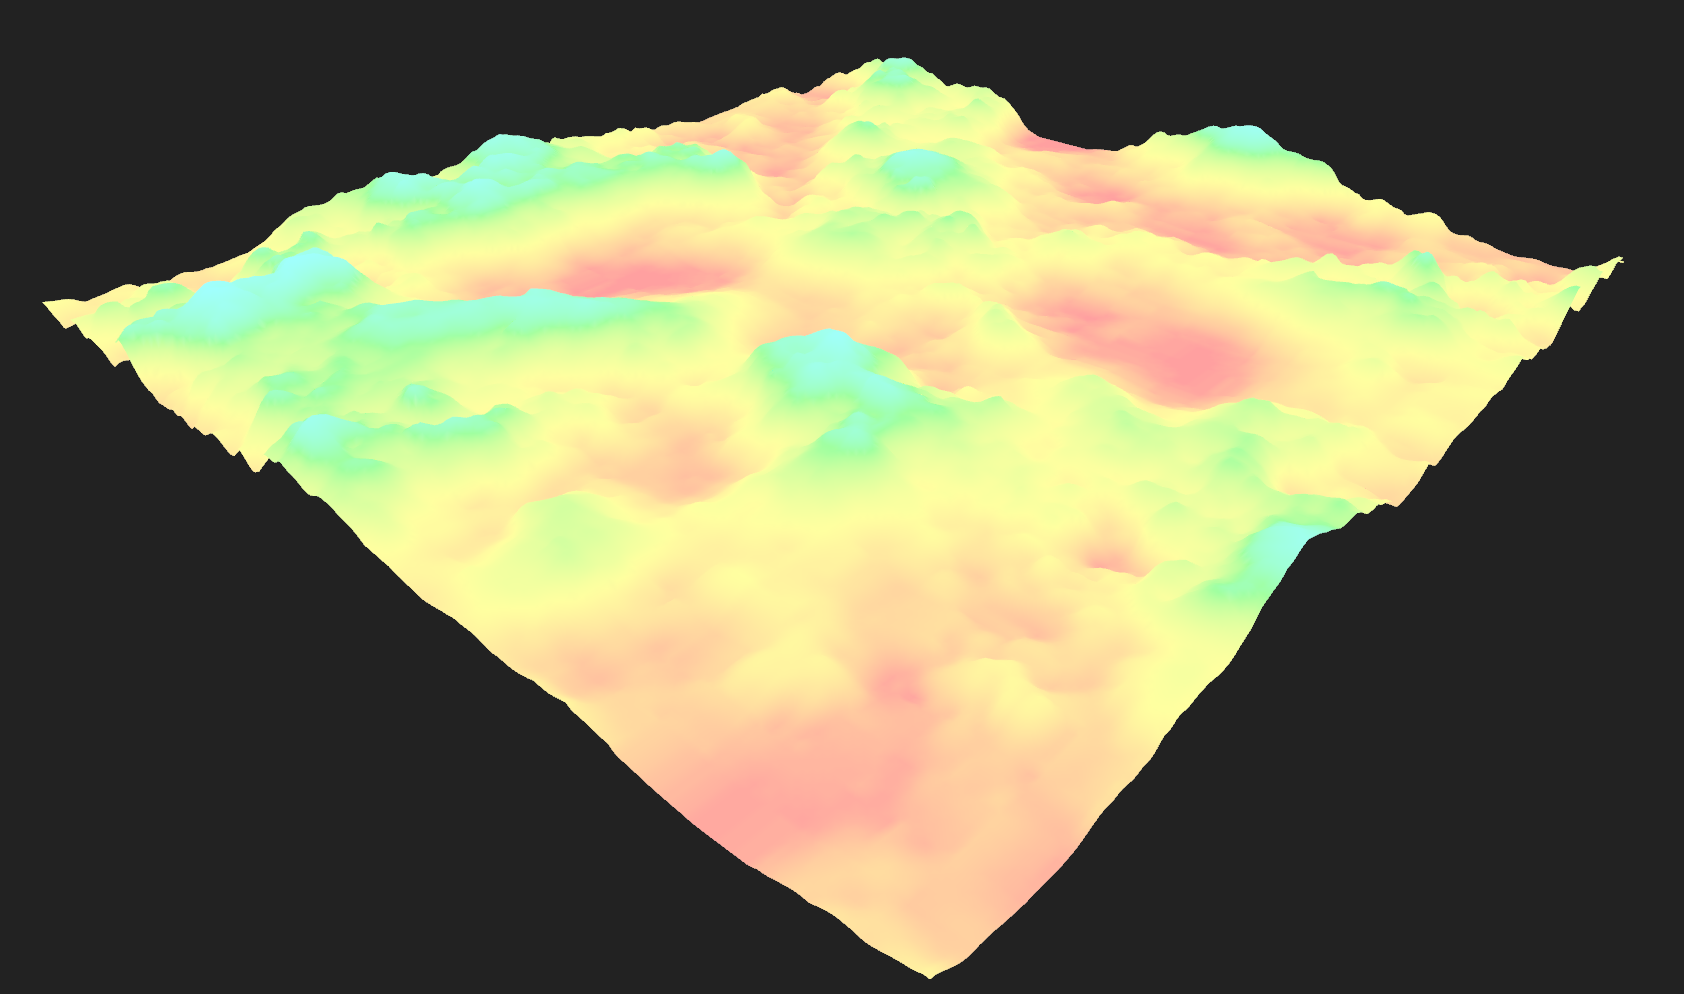
Vertices positition and color:
1 2 3 4 5 6 7 8 9 | |
The vertices will have a color proportional to the terrain height. The palette library is used for generating the color gradient.
Indices:
It is useful to show the terrain wireframe for debugging. So we will use different indices depending on whether we want to draw triangles or lines.
1 2 3 4 5 6 7 8 9 10 11 12 13 14 15 16 17 | |
We can now add these vectors to the mesh:
1 2 3 4 5 6 7 8 | |
the set_attribute function accepts an arbitrary string as the first argument. This string will later be referenced in the shader.
Rust type system and Bevy perform all the type conversion for us, so we avoid mangling with byte arrays and pointer casts.
Our mesh is now ready.
Mesh material
Bevy standard material allows to use a texture, but it does not support vertex colors. In order to draw the terrain with color proportional to the height, our shader has to use the TerrainMaterial::ATTRIBUTE_COLOR mesh attribute.
In order to do this, we will use the simple render pipeline and shaders from the mesh_custom_attribute.rs example.
The add_terrain_pipeline function, called during setup, creates and returns a new pipeline:
1 2 3 4 5 6 7 8 9 10 11 12 13 14 15 16 17 18 19 20 21 22 23 24 25 26 27 28 29 30 31 32 33 34 35 36 37 38 | |
Make the mesh available for use
Note: concepts such as Assets, Handle and Resources are described in the Bevy Introduction
We will not add the mesh directly to an Entity. Instead, the mesh will be owned by the Assets asset manager.
Once we move the mesh to the manager, we obtain a Handle in exchange:
1
| |
This Handle is now a clonable reference to the mesh. It is quite useful because, for instance, we can add it to a Bevy Resource:
1 2 3 4 5 | |
So that we can reference later the mesh in any system. For instance, the following system allows us to switch between the shaded and wireframe mesh:
1 2 3 4 5 6 7 8 9 10 11 12 13 14 15 16 17 18 19 20 21 22 23 24 25 26 27 | |
Add the mesh to the scene
Finally, let’s spawn an entity in the scene with the terrain mesh:
1 2 3 4 5 6 7 8 9 10 | |
The terrain mesh will now be visible in the scene:
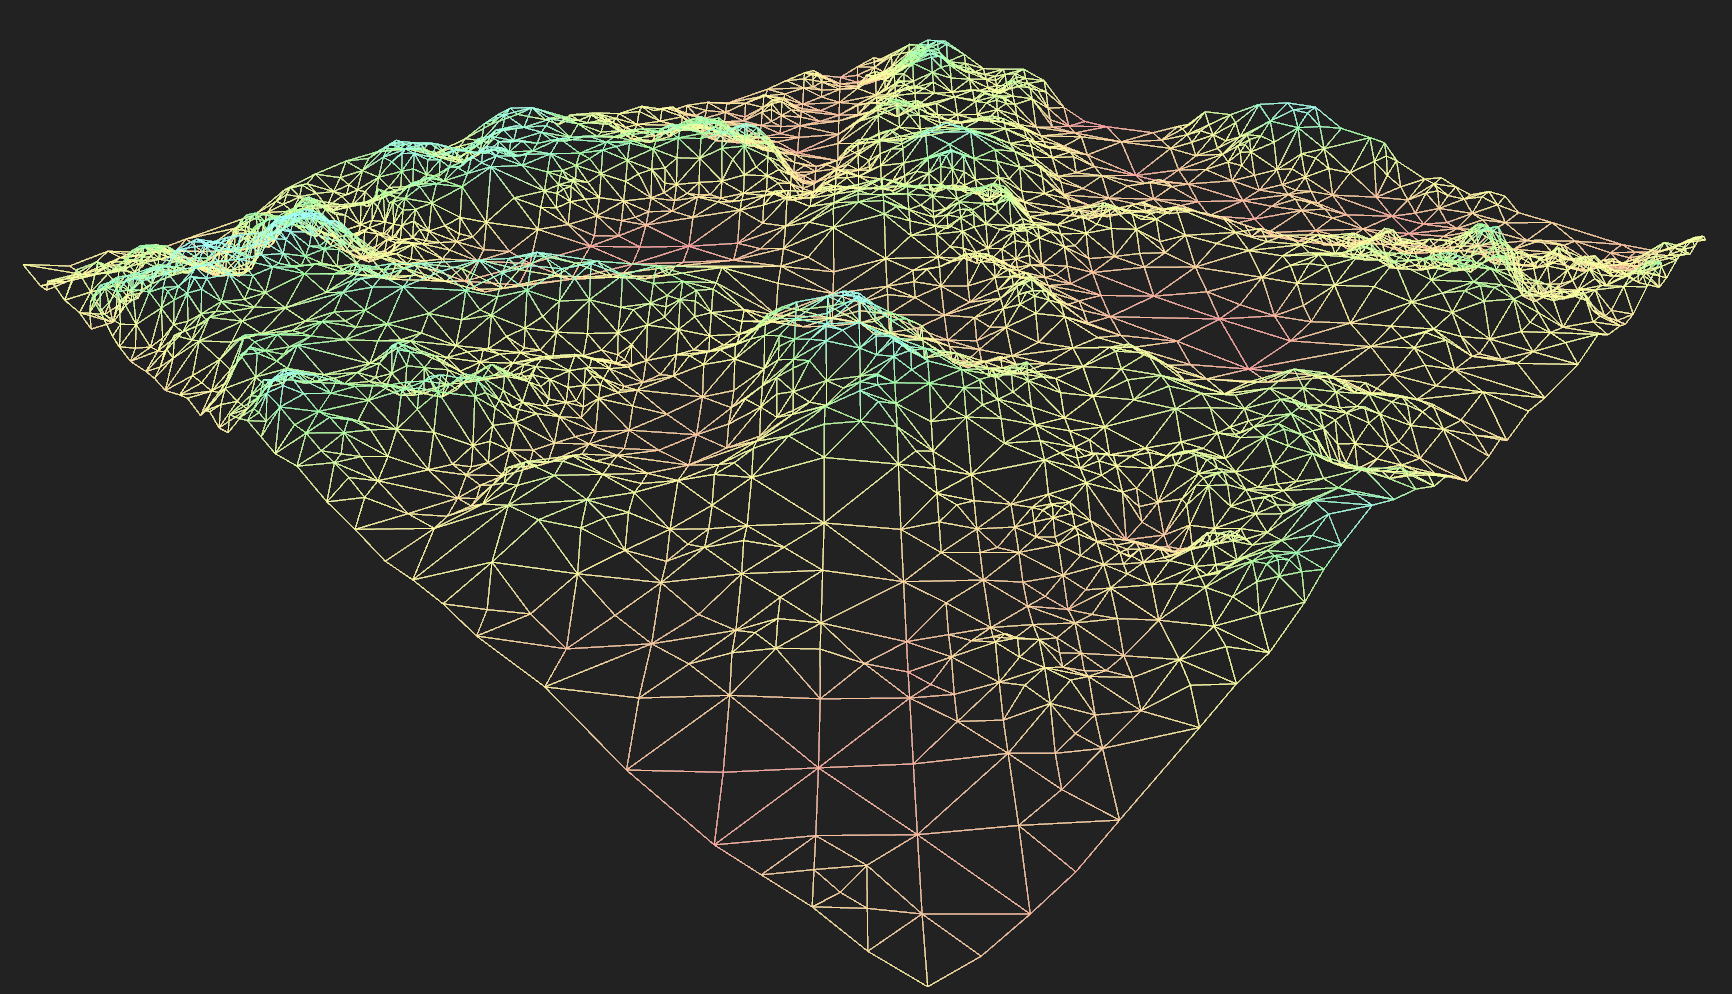
Note that, beyond spawning the MeshBundle, we added a Terrain component. This empty struct actually does nothing at all! However, by adding it to our entity, it works as a tag for referencing this entity in a query. Check the previous definition of switch_mesh_system
1 2 3 4 5 6 7 | |
The terrain_query will only look for entities that contain both a mesh and a terrain component.
Conclusion
After a few days spent playing with this really promising framework I can totally say that using Bevy it’s a nice experience:
- There are enough examples for learning how to use its features
- The ECS system seems very powerful and composable. So far I was always under the impression that I could read and write every part of the application in a clean way, without incurring in borrow checker issues. I don’t know if this will hold true in larger applications, but I am optimistic about it
- Many features are missing right now (e.g. there are just a couple of UI widgets) but the development is pretty active.
In the next post, we will add support for generating random terrain. Until then, you can check the current source code here